Proofing
![]()
The Proofing group contains six tool-buttons, three of which are for checking spelling.
The others are for a thesaurus, digital signatures, and image optimization along with insert sale map.
Spell Check
This item is self explanatory. Related: see Edit Spellcheck

Thesaurus
Select/highlight the word of interest.
Click the Thesaurus button to open an action window and choose the desired replacement.
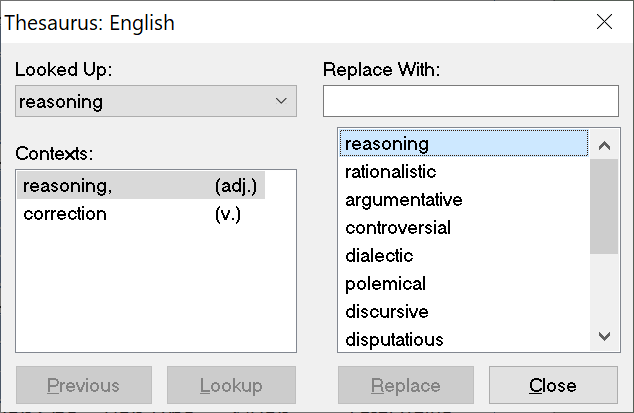
Insert a Digital Signature
Before starting this process, ensure that there is a signature image (jpg) on the PC and there is an appraiser certification page in the report. The signature image should be closely cropped with as little white space around it as possible.
Click the Signatures button on the tools tab of the ribbon.

Click the Setup button in the dialog.
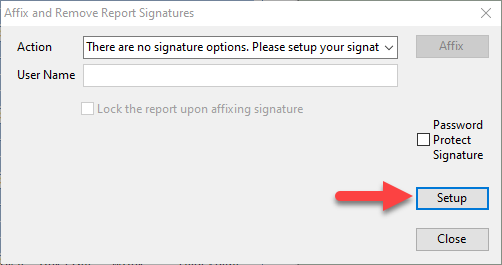
Then choose the desired signature image by clicking Load.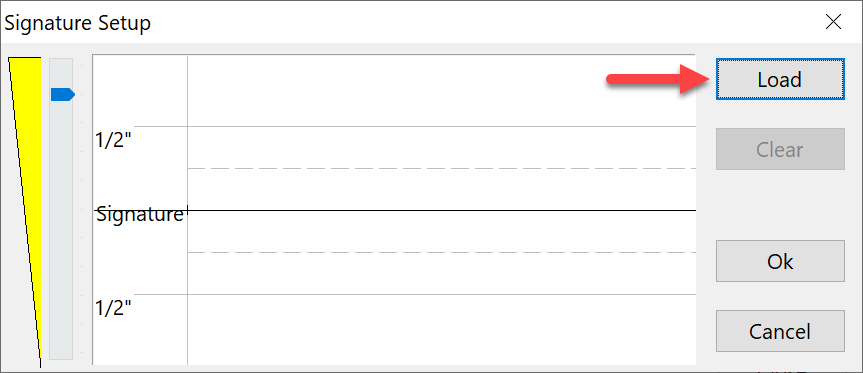
After locating and loading the signature, it can be resized with the slider on the left. The signature can be dragged to the signature baseline. Optimal size is between the signature baseline and the dashed line above it.
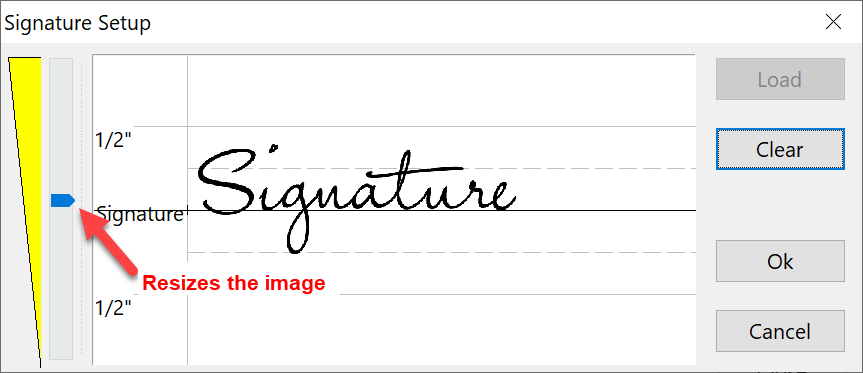
For a detailed walk through, see the Digital Signature tutorial video.
Optimize Images

Optimizing images is an extremely important step to take. Doing this dramatically reduces the file size. In turn, the time required to save/open/close is improved.
There are three easy steps to this process:
Open the Optimize action window and select the images to be optimized.
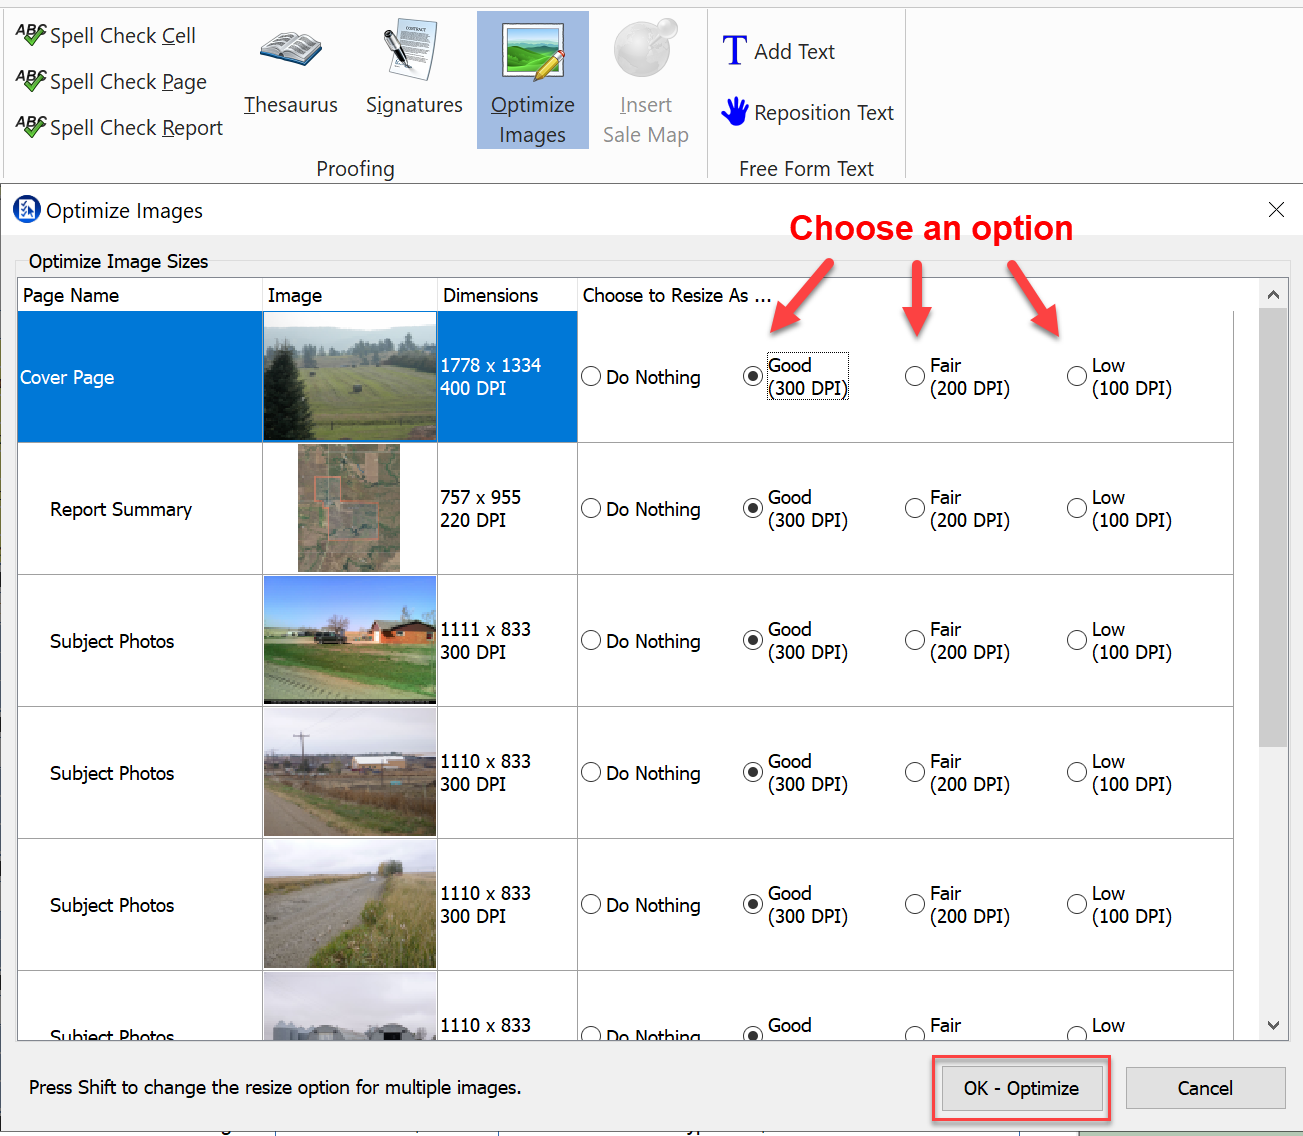
Choose the desired level of optimization. The software default automatically sets “Resize As” to 300dpi. The user can make changes as preferred. (To multi-select images use the Shift key). To change the default setting, see Setting Preferences.
Click OK-Optimize.
Insert Sale Map
More information on this feature can be found in the Insert a Sale Map article in this documentation.
