Map Labels
![]()
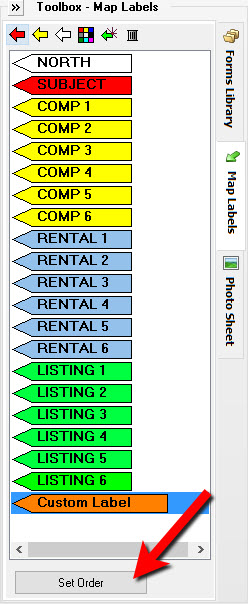
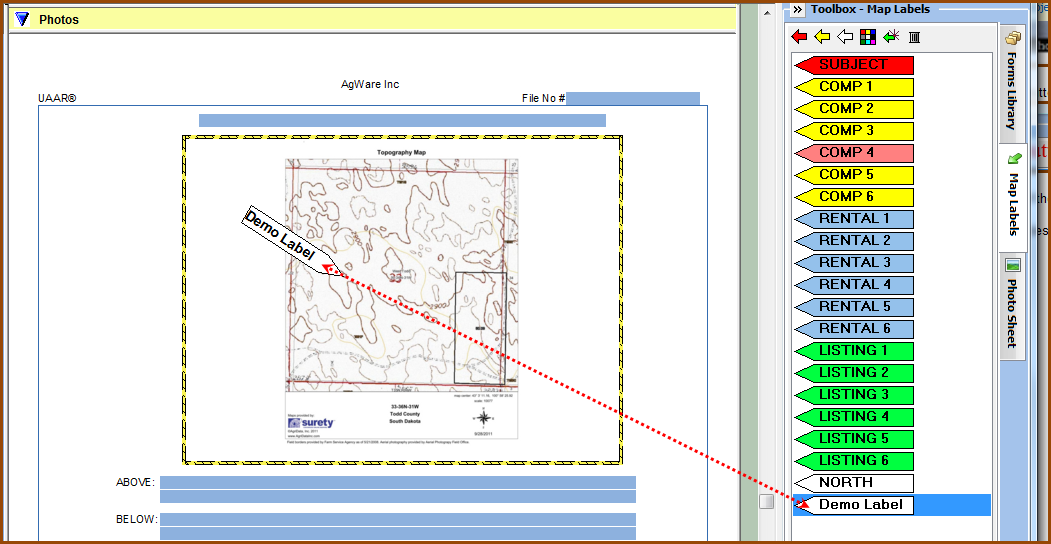
There are several standard map labels included in the Map Labels Library as a default list.
Custom text & color labels can be created as needed.
The label list can not be re-arranged.
Label font formatting is not editable.
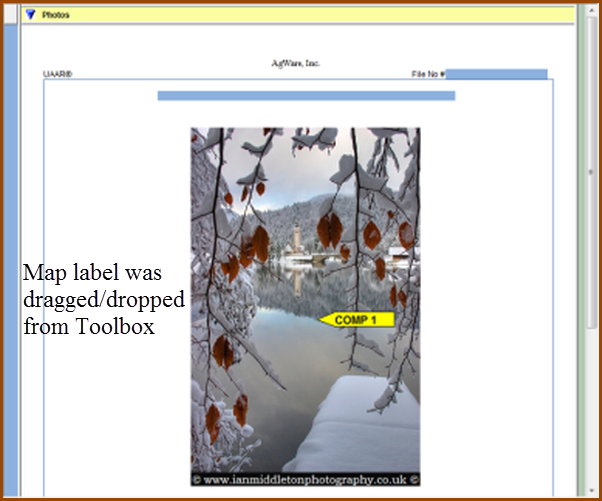
To affix map labels to photo and exhibit pages use the drag/drop method.
To delete a single map label, R-click that label.
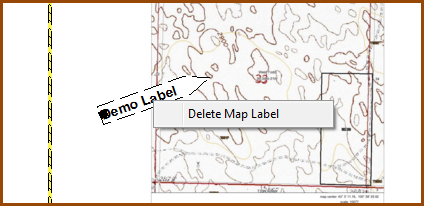
To delete all map labels, R-click the image and choose the Delete All Map labels from the menu.
The Map Labels tab has a tool button header with 6 buttons.

The first three are used to quickly change the color of the selected label to red, yellow, or white.
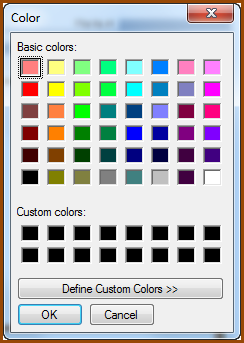
The color palette button offers more colors.
Clicking it will open the window seen here. Click the desired basic/custom color or define a new one. Click OK.
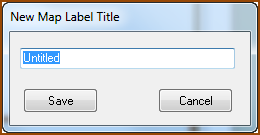
Use the  button to create a custom map label.
Enter a name for the label in the title window and click Save.
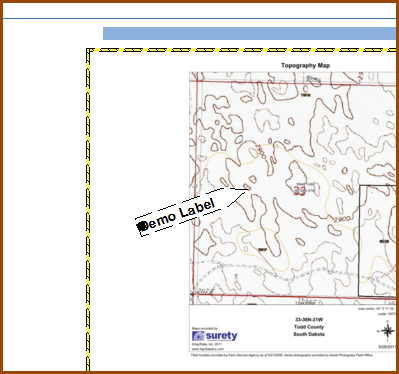
Drag the custom label to the desired location.
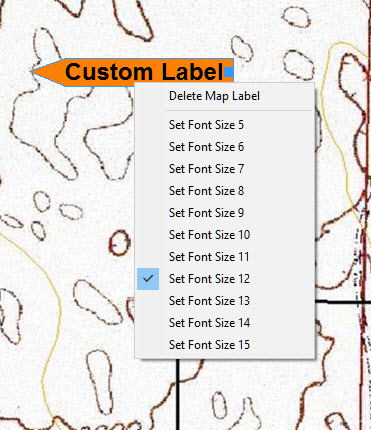
The label can be re-positioned by dragging with the cursor. You can also change the size of the label after adding it to the exhibit page. Simply Right-Click on the label and select font size to change the label.
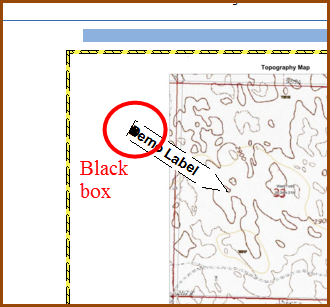
Rotate a label at its point. Click the label to see the “black box” and drag to swivel the label.
Use the last tool button to delete unwanted labels from the list.

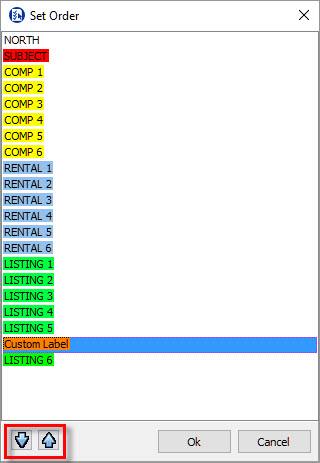
At the bottom of the Map Labels window is a button used to set the order of labels. After Clicking Set Order, click on the label that needs to be re-ordered and use the up/down arrows to adjust.