Insert
![]()

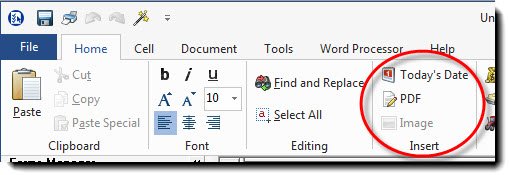
- Today’s Date – inserts the current date into the cell at the cursor location (CTRL+D also does the same).
- PDF – inserts a PDF into the report. Watch the Insert PDF tutorial video
- Clicking the PDF button opens a computer directory window
- Select the PDF to be inserted and click Open
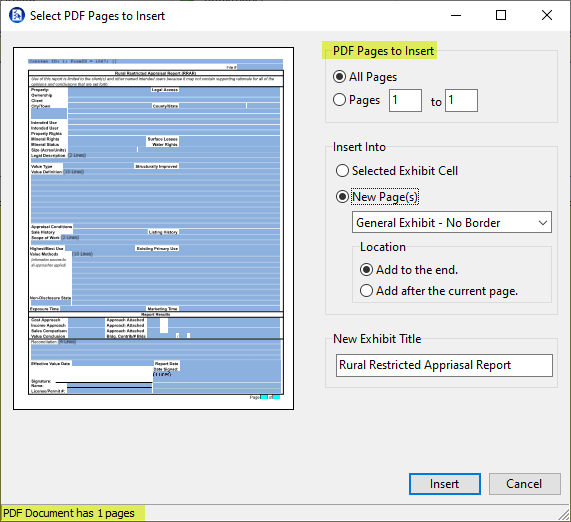
- A dialog box will display the PDF along with various insertion options
- Select the desired options and click Insert
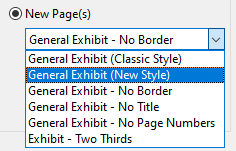
- New Exhibit – With Title includes a title cell ON the page itself
- New Exhibit – No Title has no title ON the page itself
- New Exhibit – No Border is a blank page
- The newly created pages will be inserted at the bottom of the Forms Manager
ClickForms automatically inserts the PDF pages into their own report pages if one of the six options for New Page(s) is selected.

The system default is for All Pages to be inserted into a (separate) New Page(s) – No Border.
This is the most common method of inserting PDFs into a ClickForms report because it is the easiest and most efficient method.
The remaining option for insertion into a Selected Exhibit Cell requires the user to first manually insert a page into the report with the cursor placed into the destination cell. The destination cell is either a photo/image cell or an exhibit cell.
The number of pages in the original PDF is displayed at the bottom of the window.

Image – opens a computer directory to allow the user to select an image to insert into the active cell of a photo or exhibit page already inserted manually by the user.

This option is not to be confused with inserting a graphic on a Word Processor page.
